Getting Started
The Screamer board comes pre-flashed with the PCILeech FPGA gateware, ready for DMA attacks.
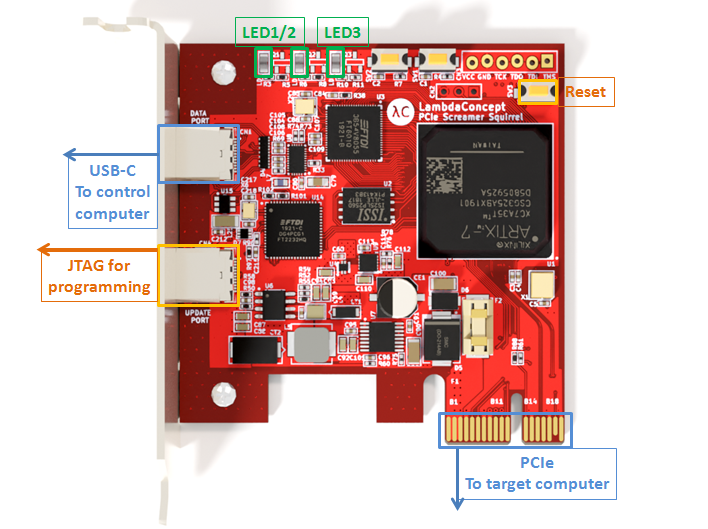
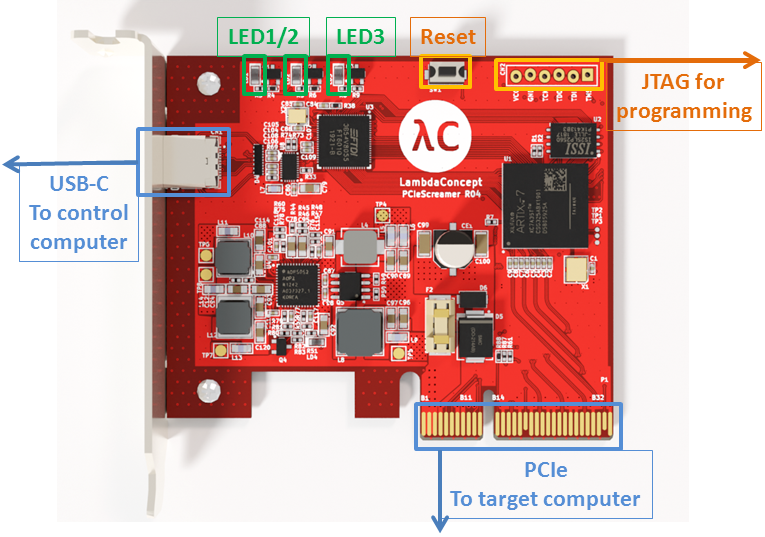
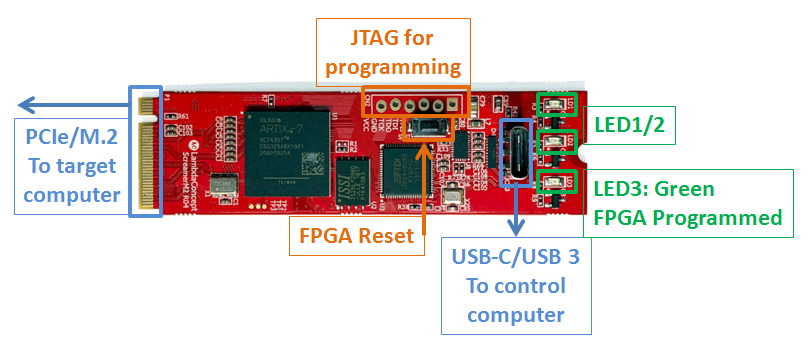
1. Disable IOMMU on the target system
Check your motherboard BIOS settings on the target computer. (The one you want to read/write the memory).
-> IOMMU setting should be set to disabled.
2. Plug the Screamer
Power off your target computer and plug the Screamer.
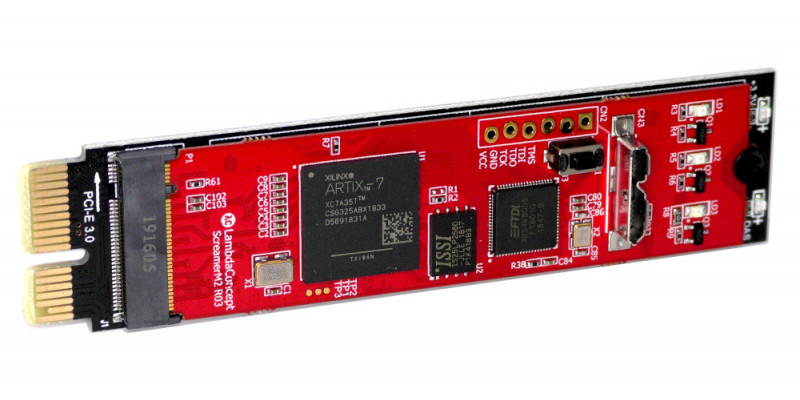
-> Optionally for Screamer M.2 use the provided M.2/PCIe adapter cards to fit your target:
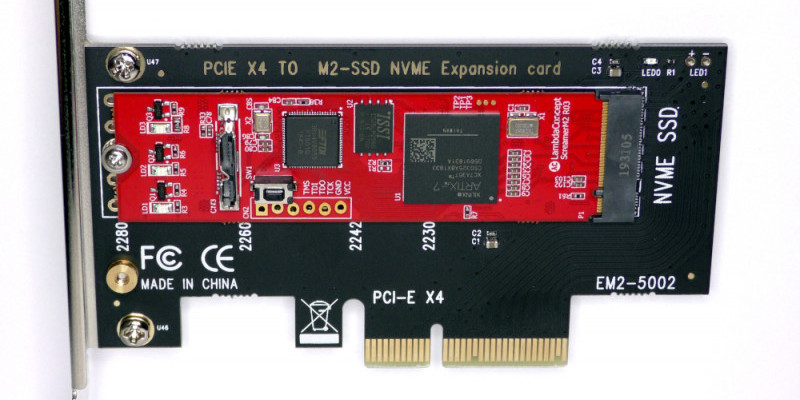
3. Boot the target system
Power up the target computer.
-> The Screamer is powered from the PCIe/M.2 connector, and will boot with the target computer.
Note
The JTAG Serial cable alone does not power the Screamer !
Once booted, the FPGA “Prog Done” LED LD3 will be green. If the LED LD3 is not turned on, check the power from the PCIe/M.2 slot, and make sure the FPGA is correctly programmed.
At this stage, the Screamer (PCIe side) should be visible from the device manager or lspci on the target system. (By default with PCILeech gateware, it is seen as Ethernet controller).
4. Connect with USB-C/USB 3
Plug the USB-C or USB 3 cable to the Screamer and to your control computer. Optionally use the provided USB-C to USB 3.1 Type-A Adapter if your control computer does not have any USB-C port.
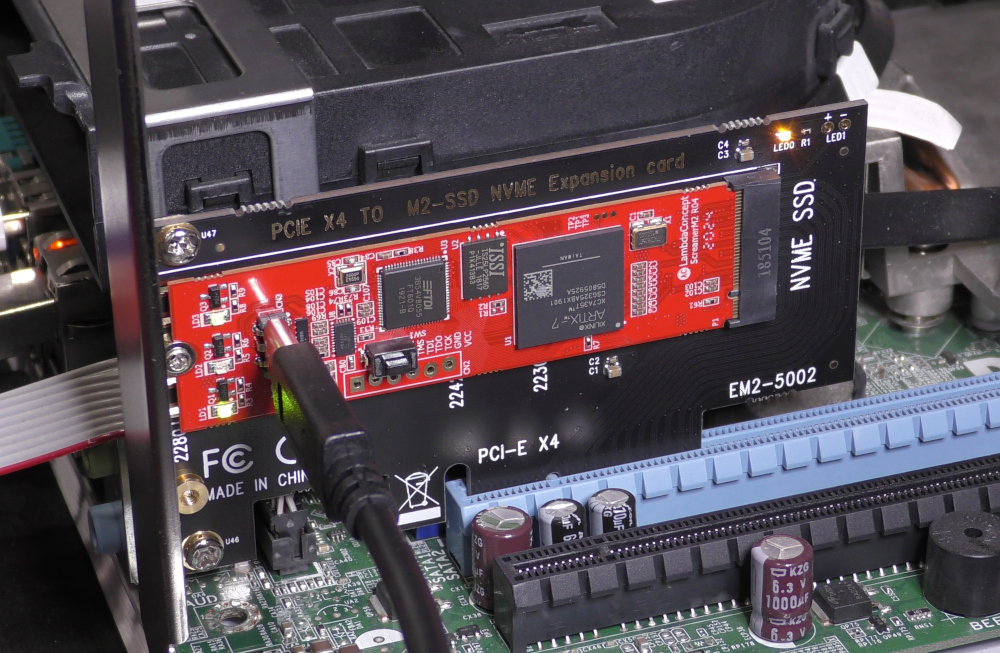
Now the Screamer (USB3 side) should show up as USB FTDI device.
5. Run PCILeech
Install PCILeech on the control computer.
https://github.com/ufrisk/pcileech
Run PCILeech:
$ sudo ./pcileech probe -device fpga -v

[+] using FTDI device: 0403:601f (bus 2, device 5)
[+] FTDI - FTDI SuperSpeed-FIFO Bridge - serialNumber 000000000001
DEVICE: FPGA: PCIeScreamer M2 PCIe gen2 x1 [300,0,500] [v4.6,0100]
 Memory Map:
 START              END               #PAGES
 0000000000000000 - 000000000009ffff  000000a0
 00000000000c0000 - 00000000caffffff  000caf40
 0000000100000000 - 000000012dffffff  0002e000

 Current Action: Probing Memory
 Access Mode:    Normal
 Progress:       4832 / 4832 (100%)
 Speed:          241 MB/s
 Address:        0x000000012E000000
 Pages read:     1019872 / 1236992 (82%)
 Pages failed:   217120 (17%)
Memory Probe: Completed.